The Charleston Explained: Mahjong's Opening Ritual
Before the first tile is drawn, the Charleston shapes your hand. Here is how this uniquely American ritual works and why it matters.
By Silk Mahjong

Before a single tile is drawn from the wall, American Mahjong has already given you something most other tile games never offer: the chance to reshape your starting hand entirely. That opportunity is called the Charleston, and it is one of the features that makes the American version of this game so distinctive. If you are new to the game, understanding the Charleston will do more to improve your early play than almost anything else. If you have been playing for a while and still find the opening confusing, this guide will clear it up.
What Is the Charleston?
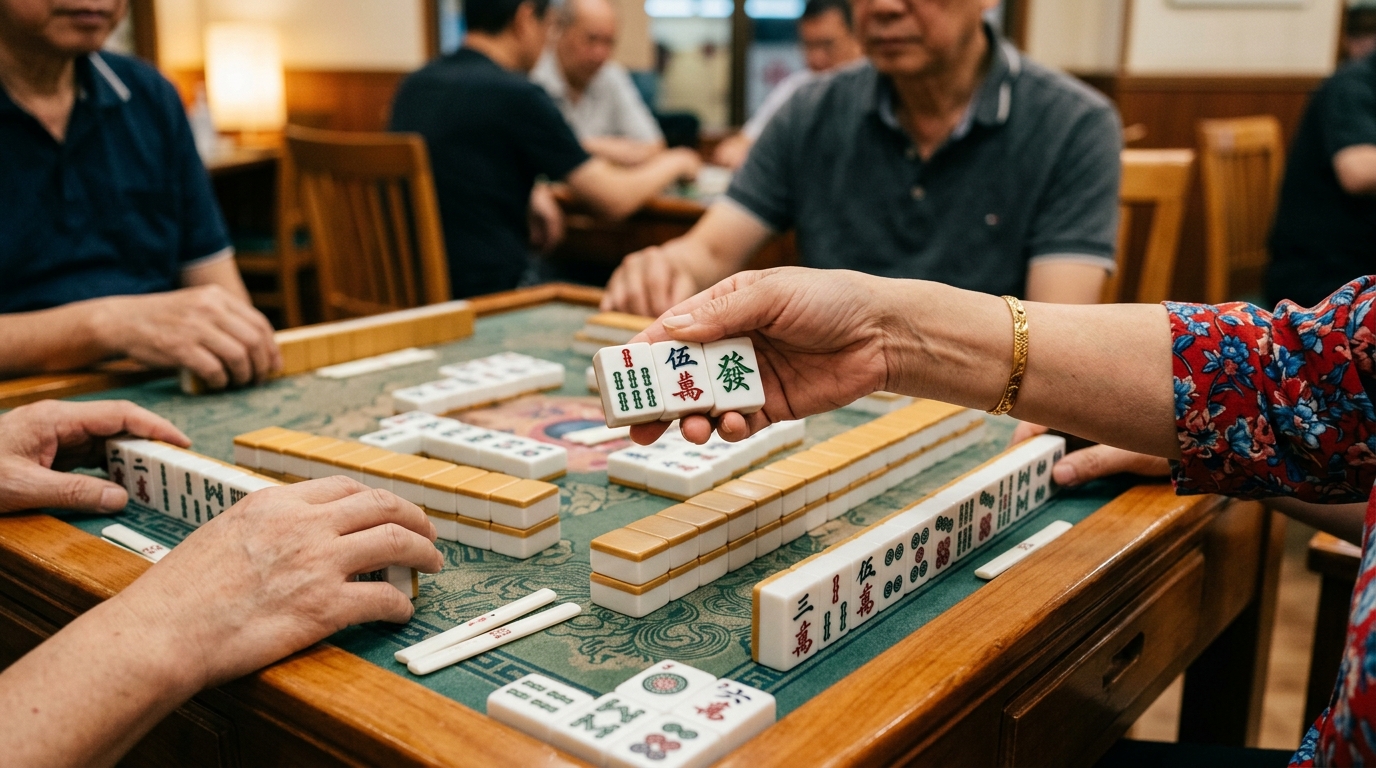
The Charleston is a structured tile-passing ritual that happens at the very beginning of each hand, after tiles are dealt but before the first draw from the wall. Each player receives thirteen tiles to start. The Charleston gives every player the chance to pass tiles they do not want to their neighbors, and to receive tiles from others in return.
The result is that by the time the Charleston ends, everyone's hand has changed. Sometimes dramatically, sometimes only slightly, but always meaningfully. The tiles you receive during the Charleston can completely redirect which hand you are building toward.
This ritual is unique to American Mahjong. You will not find it in Chinese styles like Cantonese or Shanghainese mahjong, nor in Japanese riichi. It emerged as part of the Americanization of the game in the early twentieth century and has been central to the social fabric of the game ever since. Part strategy, part social interaction, the Charleston is where each hand really begins.
The First Charleston: Three Passes
The first Charleston consists of three passes. The direction changes with each pass, and the order always follows the same pattern.
First pass: to the right. Each player selects three tiles from their hand that they do not want and passes them face-down to the player on their right. You pass simultaneously with everyone else. Once the tiles are in your neighbor's hand, the exchange is complete. You pick up the three tiles you received, add them to your rack, and reassess.
Second pass: across the table. Now each player selects three tiles and passes them face-down to the player sitting directly across from them. Again, this happens simultaneously. You send three across and receive three from across.
Third pass: to the left. The third and final pass of the first Charleston goes to the player on your left. Select three tiles, pass them face-down, and receive three from your left.
After these three passes, the first Charleston is complete. Each player has passed nine tiles away and received nine new ones. Your hand has been significantly reshuffled, and now you have a much clearer picture of where you stand for that round.
Blind Passes: When You Cannot Find Three to Give
Here is where things get a little more nuanced. During any pass in the Charleston, you are required to pass exactly three tiles. But what if you only have one or two tiles you genuinely want to get rid of?
This is where the blind pass comes in. A blind pass allows you to take tiles you just received from the previous pass and pass them along, without looking at them, to make up your three. The rule is that you must include at least one tile that you actively chose from your existing hand. But if you only want to give away one of your own tiles, you can "pass through" two tiles that arrived during the previous pass, still face-down, without examining them first.
Blind passes add a layer of unpredictability that experienced players find genuinely fun. You might accidentally pass along something wonderful, or unknowingly send exactly what an opponent needed. Part skill, part chaos, entirely mahjong.
One important note: you cannot blind pass during the first pass of the first Charleston, because there are no previously received tiles to pass through. Blind passing only becomes an option from the second pass onward.
The Second Charleston: Optional but Common
Once the first Charleston is complete, the player who dealt (East) has the option to call a second Charleston. If East chooses to, a second round of three passes takes place. This time, the direction reverses: the first pass goes to the left, then across, then to the right.
All the same rules apply: pass three tiles per round, blind passes are allowed using previously received tiles.
If East declines the second Charleston, it simply does not happen. Some players always want the second Charleston; others prefer to get on with the game. Both approaches are valid, and you will develop your own preference over time.
When is a second Charleston worth calling? Generally, when your hand after the first Charleston is still scattered and you feel you need more time to consolidate. If you already have a clear hand and solid tiles, a second Charleston might be more risk than reward, as you could lose good tiles as easily as you gain them.
The Courtesy Pass: A Final Optional Exchange
After the Charleston (whether one or two rounds), there is one more optional exchange available: the courtesy pass. This is a direct swap between players sitting across from each other, agreed upon voluntarily by both parties.
Each pair across from each other can independently decide whether to do a courtesy pass. One pair may swap while the other does not. If both players across from each other agree, they exchange between one and three tiles face-down simultaneously.
The courtesy pass is exactly that: a courtesy. There is no obligation to participate, and neither player can demand that the other join in. A simple "would you like to pass?" and a nod or a shake is all it takes.
Strategically, the courtesy pass is most useful when you have tiles that are clearly relevant to a hand that requires a specific pair or when you feel your opponent across from you might benefit from what you have (even though, of course, you do not know what they need).
Strategy: What to Pass and What to Keep
This is where the Charleston becomes a game within the game. Here are the principles that most experienced players follow.
Know what you are building before you pass. After your thirteen tiles are dealt, the first thing you should do is scan the annual hand card and identify two or three hands you could reasonably build. Then look at your tiles and see what you do not need. Those are your first candidates for passing.
Pass isolated singles early. If you have one tile that does not fit any hand you might build, that is the easiest pass. Isolated tiles are dead weight. Give them away without hesitation.
Do not break up pairs. If you have two of a tile, think carefully before passing one. Pairs are hard to rebuild and central to many winning hands. Hold pairs unless they genuinely do not fit any of your target hands.
Think about what you are giving to your neighbor. While you cannot see your opponents' tiles, you can reason about what might help them. If you are holding tiles that seem to form sets with each other, passing them together could be handing someone a useful group. When possible, break up your discards so you are not gifting a neighbor a readymade chunk of a hand.
Be flexible in the early passes, decisive in the later ones. The first pass often involves your clearest unwanted tiles. By the third pass, you should have a sharper sense of your hand direction and can make more targeted decisions about what to keep and what to release.
Common Beginner Mistakes
Passing too slowly. The Charleston should move at a reasonable pace. Spending several minutes on each pass slows the entire table. Try to identify your three tiles quickly; long deliberation rarely changes the outcome.
Counting the tiles you receive. This is a point of etiquette as well as strategy. When tiles arrive from another player, you should scoop them up and add them to your rack without spending time analyzing them visibly. Counting or sorting received tiles before the pass is complete signals your reaction to everyone at the table.
Holding on to too much. Beginners often try to keep everything, hoping it will all fit together. It usually does not. The Charleston works best when you are willing to let go. Commit to a hand direction early and give away anything that does not serve it.
Forgetting the blind pass option. New players sometimes pass tiles they wanted to keep because they could not find three to give away. Remember that the blind pass exists precisely for this situation. You only need one tile from your own rack; the other two can come from what you just received.
Skipping the second Charleston when it would help. If your hand is still in poor shape after the first Charleston, do not hesitate to call for a second one. The additional passes exist for exactly that reason.
The Charleston takes just a few minutes in the flow of a hand, but it does a remarkable amount of work. It warms up the table, creates the first strategic puzzle of each round, and gives everyone a fighting chance regardless of their initial deal. Once the Charleston is over and the wall draws begin, you will find that you are already invested in the hand in a way that pure draw-and-discard games rarely achieve.
That is the magic of the opening ritual. It makes every hand feel personal before the real game has even started.